Understanding Finish Trim: Types, Styles, and Applications
Finish trim is a fundamental component of interior design and finish carpentry that significantly influences the aesthetic appeal and functionality of a space. Whether framing doors and windows, providing a smooth transition between flooring and walls, or adding decorative accents, finish trim elevates the overall look of your home. As a versatile and essential element, choosing the right types and styles of finish trim requires a deep understanding of materials, design principles, and application techniques. For homeowners, contractors, and interior designers dedicated to quality craftsmanship, mastering finish trim is an investment that results in polished, professional-looking interiors.
For those seeking guidance and expert tips, explore more about finish trim at Finish trim to get tailored advice on selecting and installing the optimal trim for your project.
Common Types of Finish Trim and Their Uses
Finish trim encompasses a broad spectrum of moldings and components used to refine the edges and transitions within a space. Each type serves specific purposes and helps establish a cohesive interior aesthetic.
- Baseboards: Vertical moldings along the bottom of walls that conceal the joint between the wall surface and flooring. They protect walls from kicks and scuffs and contribute to room privacy and style.
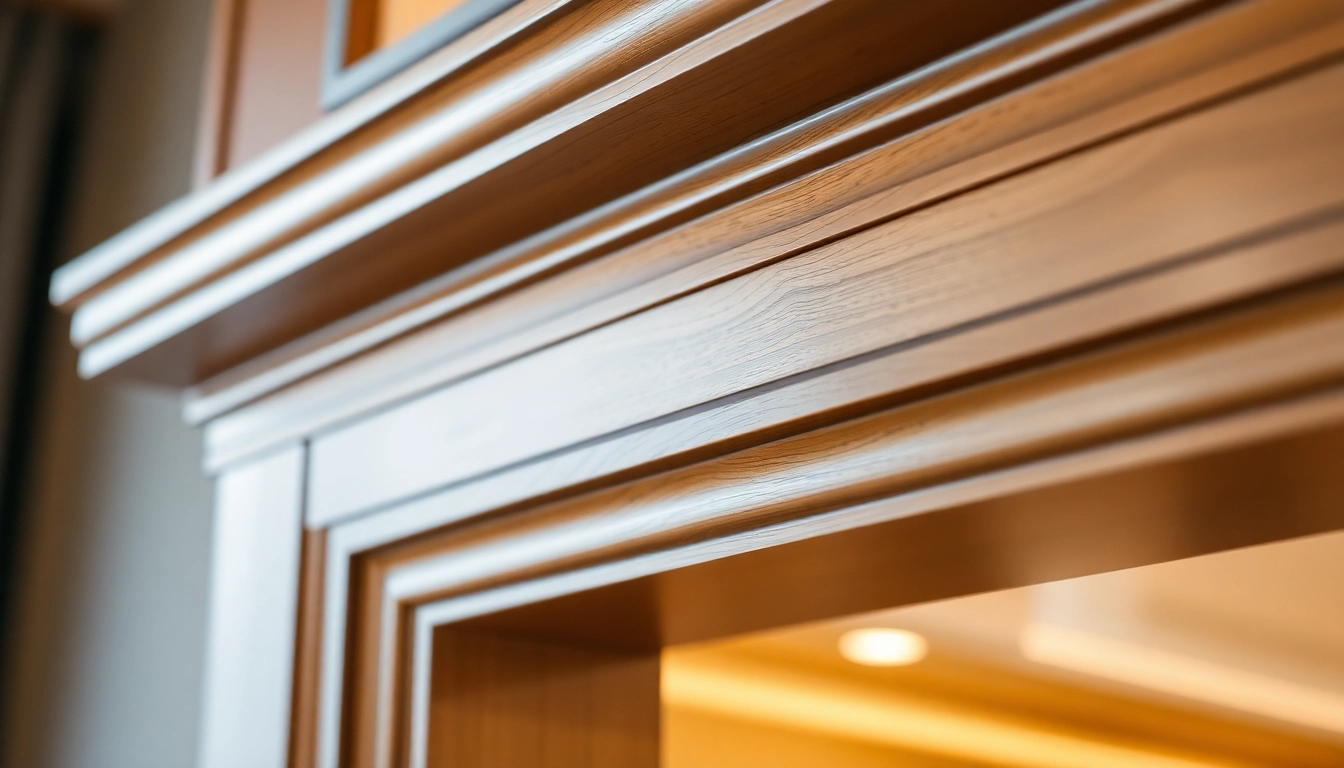
- Crown Molding: Installed at the junction of walls and ceilings, crown molding adds a sense of elegance and height to rooms. Its ornate profiles can also define traditional or contemporary styles.
- Casing: Frames around doors and windows, casing offers a finished look and helps hide gaps between the window or door frame and the wall. Options vary from simple flat profiles to elaborate contours.
- Quarter Round and Shoe Molding: Small curved trims placed along baseboards or where flooring meets the wall, providing an aesthetic transition and hiding imperfections.
- Wainscot and Paneling: Higher or more decorative trims often used in wainscoting to add texture and protection to walls, especially in dining rooms and hallways.
Each of these trim types can be customized in size, profile, and material, depending on the desired look and functional needs of your space. Understanding their distinct uses helps in selecting the perfect trim for your project.
Styling Options for Interior Finish Trim
Styling finish trim involves selecting profiles, materials, and finishes that align with your interior design vision. The plethora of styling options allows for both classic and modern aesthetics, which can dramatically alter the ambiance of a room.
Profiles and Profiles Styles
Trim profiles range from minimalistic and flat designs to intricate and ornate patterns. Common choices include:
- Colonial and Ribbed Profiles: Often used in traditional and historical homes, featuring detailed grooves and curves.
- Simplified Flat Profiles: Popular in contemporary and minimalist designs, emphasizing clean lines and understated elegance.
- Ornate Profiles: Featuring decorative motifs like acanthus leaves or intricate scrolls, ideal for classical or Victorian aesthetics.
Material Choices
Finish trim can be crafted from a variety of materials, each offering distinct qualities:
- Wood: The traditional and most versatile choice, with options like oak, poplar, pine, and maple. Provides excellent paint and stain adhesion, allowing for customization.
- Medium Density Fiberboard (MDF): Cost-effective and smooth, ideal for painted finishes, especially in modern interiors.
- Vinyl and PVC: Durable, moisture-resistant options suitable for kitchens, bathrooms, or exterior applications.
- Composite Materials: Combining wood fibers and resins, these offer durability and low maintenance, with a variety of textures and finishes.
Additionally, finishing options such as staining, painting, or applying decorative veneers enable further customization to match specific interior themes.
Choosing the Right Finish Trim for Different Rooms
Selecting appropriate finish trim depends on room function, design style, and personal preferences. Tailoring trim choices enhances both aesthetic appeal and practical functionality.
Living Rooms and Formal Spaces
In areas designed for entertaining and relaxation, opt for elegant crown moldings and substantial baseboards. Rich wood finishes or painted profiles with intricate detailing can create a sophisticated atmosphere.
Bedrooms and Private Quarters
Soft, understated trim styles such as slim crown moldings, simple casing, and modest baseboards foster a cozy, tranquil environment. Customizable painting or staining can accentuate architectural features.
Bathrooms and Kitchens
Moisture-resistant trims like vinyl or PVC are recommended. Keep profiles streamlined and minimal to prevent water accumulation, and choose finishes that support easy cleaning.
High-Traffic and Commercial Spaces
Durability is key. Use heavy-duty MDF or vinyl trims that withstand impact and moisture. Opt for low-profile designs that minimize damage risk.
Installation Techniques and Best Practices for Finish Trim
Preparing Walls and Surfaces for Trim Installation
Proper preparation is the foundation of a flawless finish trim installation. Start by ensuring walls are smooth, clean, and free of dust or debris. Fill any holes or imperfections with appropriate filler and sand surfaces for a seamless appearance.
Accurate wall measurements and surface leveling are critical, especially when aligning multiple trim pieces or creating custom profiles. Utilizing laser levels or chalk lines can enhance precision.
Step-by-Step Guide to Precise Finish Trim Installation
- Measuring and Planning: Carefully measure each section, mark cut lines, and plan the layout to minimize waste and seams.
- Cutting and Mitering: Use a sharp miter saw for precise angles, especially for corners and joints. Practice consistency to ensure tight, clean joints.
- Dry Fitting: Assemble pieces temporarily to check fit and alignment before fastening.
- Attaching: Use finishing nails or pneumatic nailers; countersink nails for easy filling. Apply adhesive if necessary for added stability.
- Seam and Joint Finishing: Fill nail holes, caulk gaps, and apply wood filler to seams for a seamless look.
- Sanding and Smoothing: Lightly sand to remove rough edges and ensure a smooth surface for painting or staining.
- Painting or Staining: Apply primer, followed by your chosen paint or stain, using quality brushes or rollers for even coverage.
Consistent application of these steps guarantees professional results, reducing rework and enhancing the longevity of the finished trim.
Tools and Materials for Professional Results
Investing in high-quality tools and materials simplifies the installation process and ensures durability.
- Tools: Miter saw, level, nail gun or hammer, measuring tape, pencil, caulking gun, sanding block, and brushes or rollers for finish application.
- Materials: Trim molding, nails or fasteners, wood glue (for certain joints), primer, paint or stain, wood filler, caulk, and protective primers if needed.
Achieving a High-Quality Finish on Trim
Surface Preparation and Sanding Tips
Prepping the surface before painting is vital for a flawless finish. After filling and sanding joints and nail holes, ensure the surface is free of dust by vacuuming or wiping with a tack cloth. Sand between coats of paint or stain to promote adhesion and smoothness, especially on detailed profiles.
Use fine-grit sandpaper (220-grit) for finishing touches and aim for uniform surface quality without gouging the material.
Choosing the Best Paints and Finishes for Finish Trim
Select paints and finishes suited to your trim material and environmental conditions. For interior trim, high-quality latex or oil-based paints provide durability and a refined appearance. Consider low-sheen or semi-gloss finishes for ease of cleaning and a polished look. For staining, use pre-conditioners and multiple coats for rich, even color.
Reddit experts recommend using premium paints like Benjamin Moore Aura for an impeccable finish, emphasizing the importance of choosing products that withstand wear and provide a smooth surface.
Techniques for Smooth, Flawless Paint Application
Apply paint or stain with high-quality brushes or rollers designed for trim. Use light, even strokes and avoid excessive pressure to prevent brush marks or drips. Implement the “first-and-last stroke” technique to maintain line consistency. For complex profiles, use spray guns for a uniform finish, especially in larger projects.
Multiple thin coats are preferable to a single thick coat, with sanding between coats, to achieve a sleek, professional appearance.
Design and Style Trends in Finish Trim
Incorporating Decorative Trim Molding
Decorative trims and moldings add character and distinctiveness to interiors. Modern trends favor clean, minimal lines, while traditional spaces often feature elaborate profiles. Incorporating decorative elements like rosettes, medallions, or layered moldings creates focal points and enhances architectural interest.
Mixing different trim styles—such as pairing simple baseboards with ornate crown moldings—can produce a balanced, visually appealing contrast that adds depth to the design.
Modern vs. Classic Finish Trim Styles
Modern interior design tends toward sleek, unembellished trim with flat or slightly rounded profiles, often painted in neutral colors for a contemporary look. In contrast, classic styles feature intricate moldings, carved details, and rich wood finishes that evoke elegance and heritage.
Selecting between these styles should be aligned with the overall interior theme and personal taste, ensuring harmony across spatial elements.
Customizing Finish Trim to Match Interior Themes
Customization allows homeowners to tailor trim profiles, finishes, and colors to match specific themes—be it rustic, minimalist, industrial, or traditional. Techniques such as painted finishes, staining, distressing, or adding decorative accents can refine the bespoke aesthetic.
Experimenting with contrasting colors or layering different textures raises the design complexity and personalizes the space further.
Maintenance, Repair, and Enhancing Longevity of Finish Trim
Cleaning and Regular Maintenance Tips
Regularly clean finish trim with a soft cloth or gentle vacuum brush to remove dust and debris. For stubborn stains or smudges, use a mild soap solution and avoid abrasive cleaners that can damage paint or veneers. Touch up paint or stain chips promptly to prevent further deterioration.
Common Repairs and How to Fix Them
Over time, trim may suffer from nicks, scratches, or water damage. Repairing minor damages involves sanding the area, applying filler if necessary, and repainting or re-staining. For loose or sagging trim, re-nailing or re-gluing ensures stability. Replacing damaged sections with matching profiles maintains the integrity of the aesthetics.
Tips for Extending the Life of Your Finish Trim
Choosing high-quality materials and finishes enhances durability. Proper installation, secure attachment, and protective coatings shield against impact, moisture, and wear. Additionally, controlling humidity and avoiding moisture exposure extends the lifespan of wooden trim components, preserving your investment for years to come.